As a self-published author, you’re not just a writer, but also a designer, a publisher, and a entrepreneur. One of the most exciting aspects of self-publishing is having complete control over the production process. When it comes to chapbooks, the binding method can make or break the overall aesthetic and reader experience. In this post, we’ll explore DIY chapbook binding methods that will wow your readers and make your chapbook stand out from the crowd.
Why DIY Chapbook Binding?
Many authors overlook the importance of binding when it comes to chapbooks. After all, isn’t it just a small booklet of poems or short stories? However, the binding method can greatly impact the overall look and feel of your chapbook. A well-bound chapbook can convey a sense of professionalism and attention to detail, making it more appealing to readers. Additionally, a unique binding method can become a talking point, setting your chapbook apart from others in the same genre.
By choosing to DIY your chapbook binding, you’re not only saving money, but you’re also gaining creative control. You can experiment with different materials, colors, and designs to create a truly unique and personalized chapbook. And, with a little practice, you can create a beautiful, professional-looking chapbook that will make your readers take notice.
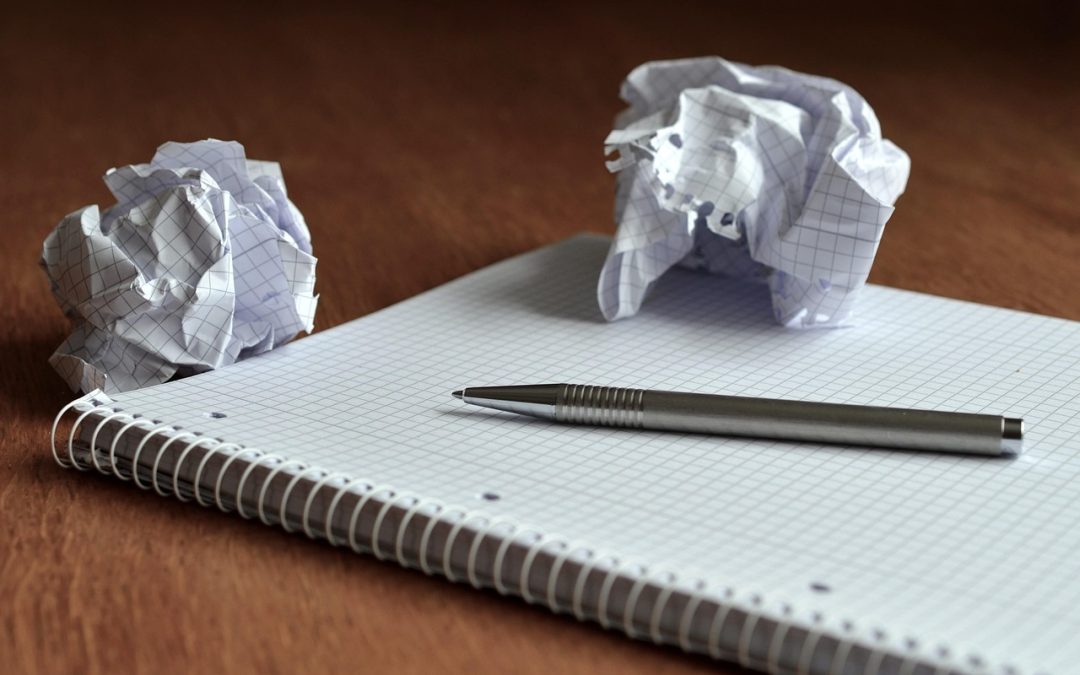
DIY Chapbook Binding Methods
There are several DIY chapbook binding methods to choose from, each with its own unique characteristics and challenges. Here are a few popular methods to get you started:
- Saddle-Stitching: This is a simple and cost-effective method that involves stapling the pages together along the spine. It’s perfect for thin chapbooks with a small page count.
- Coptic Binding: This ancient Egyptian binding method involves sewing the pages together with a chain stitch. It’s a bit more time-consuming, but the result is a beautiful, flexible book that lies flat when open.
This method involves folding the pages in a zig-zag pattern, creating a unique and eye-catching design. It’s perfect for chapbooks with a limited page count. - Japanese Stab Binding: This method involves using thin strips of paper or cardstock to bind the pages together. It’s a simple and elegant method that adds a touch of Eastern flair to your chapbook.
Tips and Tricks for Successful DIY Chapbook Binding
Before you dive into DIY chapbook binding, here are a few tips and tricks to keep in mind:
- Choose the right paper: Look for paper that is heavy enough to support the binding method you’ve chosen. A minimum of 80gsm is recommended, but 100gsm or higher is ideal.
- Use the right tools: Invest in a good pair of scissors, a bone folder, and a ruler. These tools will make the binding process much easier and more accurate.
- Measure twice, cut once: Make sure to double-check your measurements before cutting your paper. This will save you from costly mistakes and wasted materials.
- Practice makes perfect: Don’t be discouraged if your first few attempts at DIY chapbook binding don’t turn out as expected. Practice, and you’ll soon develop the skills and confidence you need to create beautiful, professional-looking chapbooks.
“The road to hell is paved with adverbs.” – Stephen King
While King’s quote refers to writing, it’s also applicable to chapbook design and binding. Don’t be afraid to experiment and try new things. Remember, the imperfections are what make your chapbook unique and personal.
In addition to the binding method, the design and layout of your chapbook are crucial to its overall success. Make sure to avoid common design mistakes, such as poor font choices and inadequate margins. Check out our post on Essential Chapbook Design Mistakes to Avoid for more tips and advice.
With a little creativity and practice, you can create stunning, professionally-bound chapbooks that will wow your readers. Remember to experiment with different materials, colors, and designs to make your chapbook truly unique. And don’t forget to have fun with the process! After all, that’s what self-publishing is all about.
So, what are you waiting for? Grab your paper, scissors, and glue, and get started on your DIY chapbook binding project today. Happy binding!