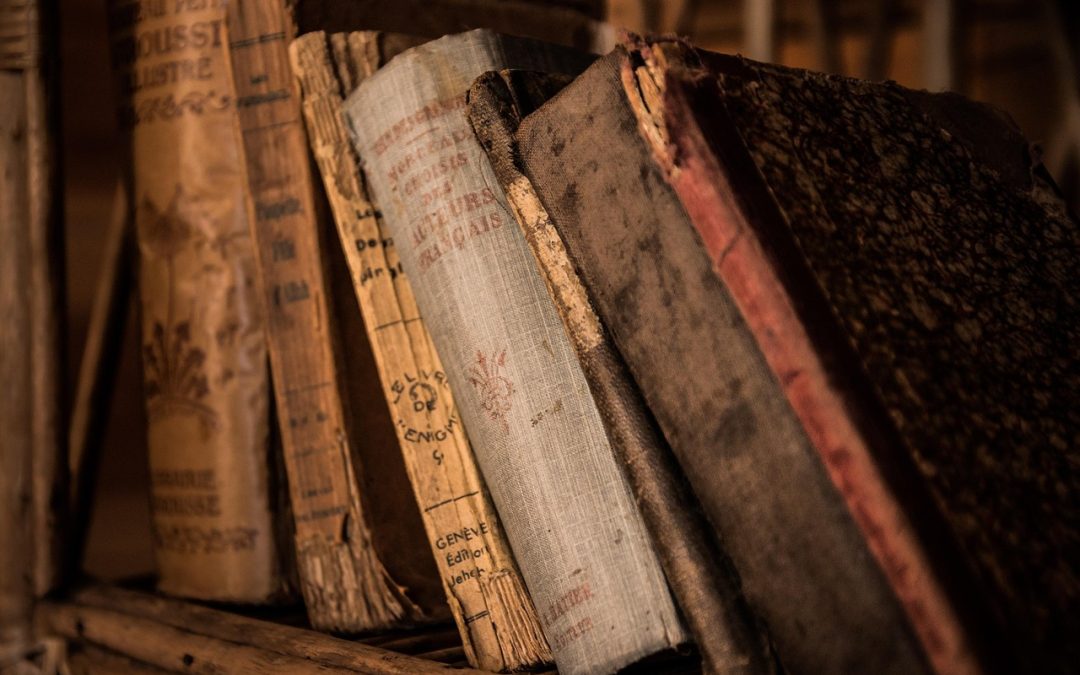
As a writer, there’s something special about holding a physical copy of your work in your hands, the weight of the pages, the smell of the paper, and the tactile experience of turning the pages. While self-publishing has made it easier to produce and distribute digital copies of our work, creating a physical book can be a more intimate and personal experience. One way to add an extra layer of creativity and control to the process is by trying your hand at DIY bookbinding.
In this post, we’ll explore some DIY bookbinding techniques to try, from simple to more complex, and the materials and tools you’ll need to get started.
Getting Started with DIY Bookbinding
Before you start binding your book, you’ll need to decide on the design and layout of your book. This will help you determine the size, paper type, and other materials you’ll need. If you’re new to self-publishing, you might want to check out our guide to Self-Publishing Secrets Revealed, which covers the basics of getting your book ready for print.
Once you have your book design and layout decided, you can start thinking about the binding method you want to use. Here are a few popular DIY bookbinding methods:
- Staple binding: This is a simple and quick method that involves stapling your pages together along the spine.
- Saddle-stitching: This method involves sewing your pages together along the spine, but it’s a bit more durable than staple binding.
- Glue binding: This method involves gluing your pages together along the spine, and it’s a good option for thicker books.
- Hand-sewing: This is a more traditional and labor-intensive method that involves sewing your pages together using a needle and thread.
Materials and Tools You’ll Need
Depending on the binding method you choose, you’ll need different materials and tools. Here are some basics you’ll need to get started:
- Paper: You’ll need a good quality paper that can handle the binding method you choose. Look for paper with a minimum weight of 80gsm.
- Scissors: You’ll need sharp scissors to cut your paper to size.
- Glue: You’ll need a strong adhesive glue that can hold your pages together.
- Needle and thread: If you’re using the hand-sewing method, you’ll need a needle and thread.
- Bone folder: A bone folder is a tool that helps you crease and fold your paper accurately.
- Ruler: You’ll need a ruler to measure and cut your paper accurately.
In addition to these basic tools and materials, you may want to consider investing in some bookbinding specific tools, such as a book press or a sewing frame. These can help you achieve more professional-looking results, but they’re not essential for getting started.
Tips and Tricks for Bookbinding Success
Here are some tips and tricks to help you achieve success with your DIY bookbinding project:
- Start small: Don’t try to bind a large book for your first project. Start with a small chapbook or zine to get a feel for the process.
- Use high-quality materials: The quality of your paper and other materials will affect the overall look and feel of your book.
- Take your time: Bookbinding can be a time-consuming process, so make sure you have enough time to complete your project.
- Practice makes perfect: Don’t be discouraged if your first attempts at bookbinding don’t turn out as expected. Keep practicing, and you’ll get better with time.
“The book is a film that snaps in the mind. It’s a thing that you can hold and keep and look at and live with. It’s a tangible thing, a thing that takes up space, a thing that you feel and smell and see.” – Barbara Hodgson
With these DIY bookbinding techniques and the right materials and tools, you can create a beautiful and professional-looking book that showcases your writing. Whether you’re self-publishing a poetry collection or just want to create a unique chapbook, DIY bookbinding can add an extra layer of creativity and control to the process. So why not give it a try?