As writers, we pour our hearts and souls into crafting the perfect chapbook. But what about the physical presentation? A well-bound chapbook can elevate your work, making it more professional, attractive, and even collectible. In this post, we’ll explore DIY book binding techniques to take your chapbook to the next level.
Why DIY Book Binding Matters
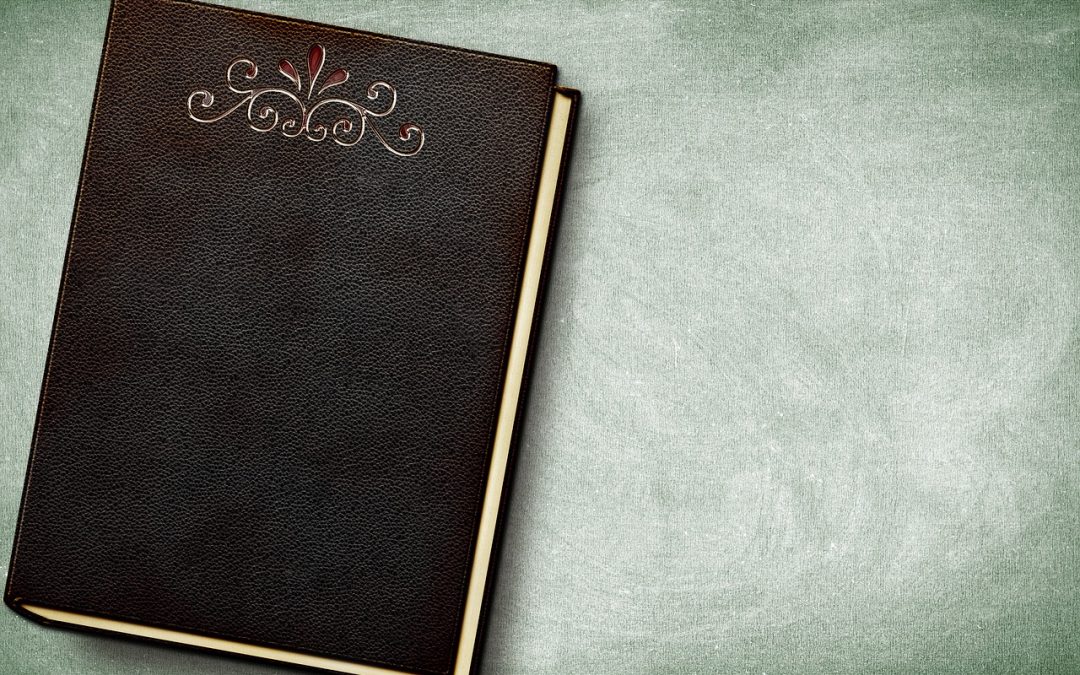
A professionally bound chapbook can make a significant difference in how your work is perceived. It shows that you’re committed to your craft, willing to invest time and effort into the physical representation of your art. Moreover, a beautiful chapbook can become a treasured possession, cherished by readers and collectors alike.
“The book is a film that can be replayed at will. It is a possession. It is a decoration. It is a solace.” – Ray Bradbury
In today’s self-publishing landscape, it’s easier than ever to produce a high-quality chapbook. With the right tools and techniques, you can create a stunning, professionally bound book that rivals traditionally published works.
Basic Book Binding Techniques
Don’t be intimidated if you’re new to book binding. Start with simple techniques that require minimal equipment and expertise:
- perfect binding, a popular method that uses a strong adhesive to attach the cover to the book block (pages). You can use a simple bone folder or a specialized tool like the Scrapbooking Perfect Binder Tool.
- staple binding, suitable for smaller chapbooks. You’ll need a heavy-duty stapler like the Swintec 741 Stapler.
- coptic binding, a more advanced technique that uses chain stitch to attach the covers. You’ll need a few basic tools, including a bone folder, a needle, and some strong thread.
For a more comprehensive guide, explore online resources like the YouTube tutorial by Sea Lemon, which covers the basics of perfect binding.
Advanced Techniques and Materials
Once you’ve mastered the basics, it’s time to experiment with more advanced techniques and materials:
- cover design using design software, like Canva or Adobe InDesign. Create a stunning cover that complements your chapbook’s content and aesthetic.
- paper selection, choosing the right weight, texture, and color scheme to match your chapbook’s tone and atmosphere. Consider using high-quality paper like 80-100 gsm or 100% cotton paper.
- embossing or debossing, adding a touch of elegance with custom-made stamps or dies. You can also use DIY methods like using a heat gun to create a debossed effect.
Don’t forget to pay attention to the interior design of your chapbook. The layout, typography, and formatting should be polished and professional. Consider consulting our guide on DIY Book Design for Writers for expert tips and advice.
Final Tips and Resources
Before you begin, remember:
- Edit your chapbook thoroughly to ensure error-free and polished content. Check out our guide on Why Your Chapbook Needs Editing.
- Research and understand the submission guidelines for chapbook contests, anthologies, and literary journals. Our post on Mastering Chapbook Poetry Submissions can help you navigate the process.
- Experiment with different materials, and don’t be afraid to try new techniques. Practice makes perfect, and you’ll eventually develop a unique style that reflects your artistry.
With these DIY book binding techniques, you’ll be able to create a stunning, professionally bound chapbook that showcases your artistry. Remember to stay creative, keep experimenting, and always strive to elevate your craft.