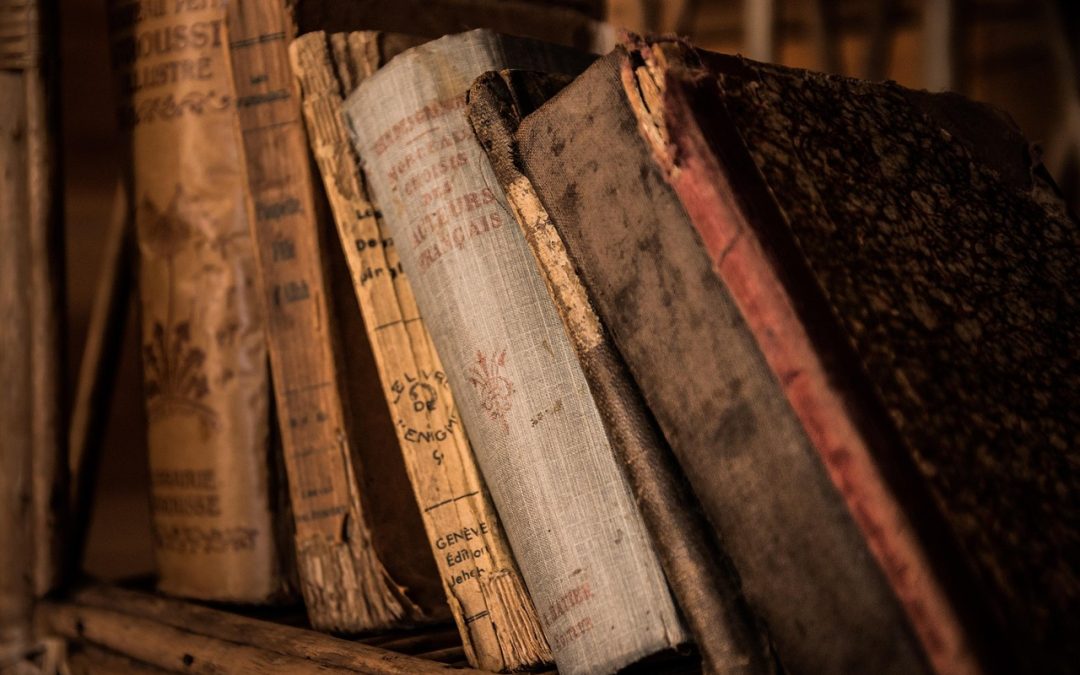
As writers, we often focus on the words themselves, but what about the physical vessel that holds our creations? A beautifully bound book can elevate your writing, making it feel more professional and special. The good news is that you don’t need to be a professional bookbinder to create a gorgeous book. With some basic knowledge and a few simple tools, you can create stunning DIY bound books that will make you proud.
Getting Started: Essential Tools and Materials
Before you dive in, it’s essential to have the right tools and materials. Here are some must-haves to get you started:
- Paper: Choose a high-quality paper with a minimum of 80 gsm. This weight will provide a nice feel and won’t bleed or feather when you write or print on it. Look for acid-free paper to ensure your book lasts for years to come.
- Bookboard: This is the stiff material that forms the base of your book cover. You can buy pre-cut bookboard or cut your own from a sturdy cardboard.
- Cloth or paper for the cover: Choose a material that resonates with your book’s tone and theme. You can use fabric, paper, or even found objects like maps or music sheets.
- Adhesives: You’ll need a strong adhesive like PVA glue or a hot glue gun to attach your cover and pages.
- Scissors, bone folder, and other crafting tools: These will come in handy for trimming and shaping your book.
Now that you have your materials, it’s time to think about the book’s structure. Will it be a simple saddle-stitched chapbook or a more complex case-bound book? If you’re new to DIY book binding, I recommend starting with a simple chapbook. You can learn more about the basics of chapbook creation in our Chapbook 101: DIY Publishing Success guide.
Basic Book Binding Techniques
There are many DIY book binding methods, each with its unique characteristics. Here are a few popular techniques to get you started:
Saddle-stitching: This is a simple and popular method that uses wire staples to attach the pages. It’s perfect for thin books and chapbooks.
Perfect binding: This method uses a strong adhesive to attach the pages to a cover. You can create a professional-looking book with a bit of patience and practice.
Coptic binding: This ancient method uses chain stitches to attach the pages. It’s a beautiful and durable technique that’s perfect for special edition books or journals.
Want to explore more DIY book binding methods? Our DIY Book Binding Methods is a comprehensive guide to get you started.
Tips and Tricks for Beautiful Books
Here are a few tips to elevate your DIY book binding skills:
- Measure twice, cut once. Double-check your measurements to avoid errors.
- Use a bone folder to create crisp folds and creases.
- Experiment with different materials and textures to create unique covers.
- Don’t be afraid to make mistakes. They’re an essential part of the learning process, and you can always learn from them.
“The book is the instrument, and the reader is the player. The book is the score, and the reader is the musician. The book is the – Italo Calvino
As you embark on your DIY book binding journey, remember that it’s not just about the physical book, but about the stories and ideas you’re sharing with the world. With patience, practice, and a willingness to learn, you can create beautiful, professional-looking books that will make you proud. So, what are you waiting for? Start binding and share your creations with the world!

